Broccoli
De Cicco
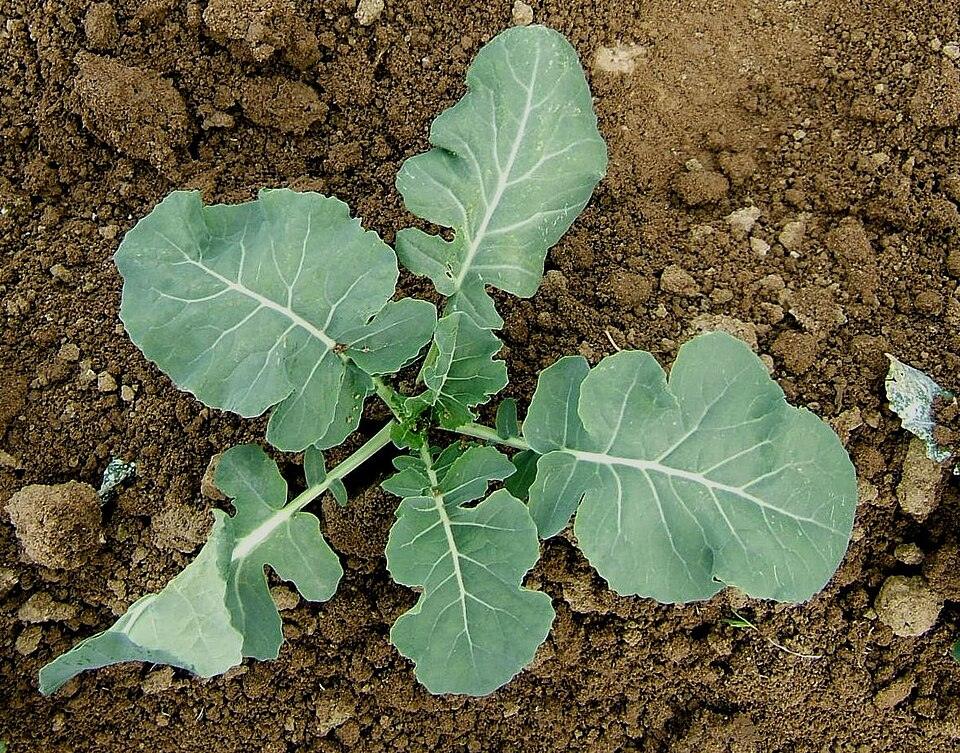 Young
YoungNewly transplanted young broccoli seedling in bare garden soil, about six blue-green lobed true leaves on a single short stem, seen from above.
Generic broccoli (Brassica oleracea var. italica) transplant; not identified as De Cicco.
Photo: Schlaghecken Josef· CC BY-SA 4.0
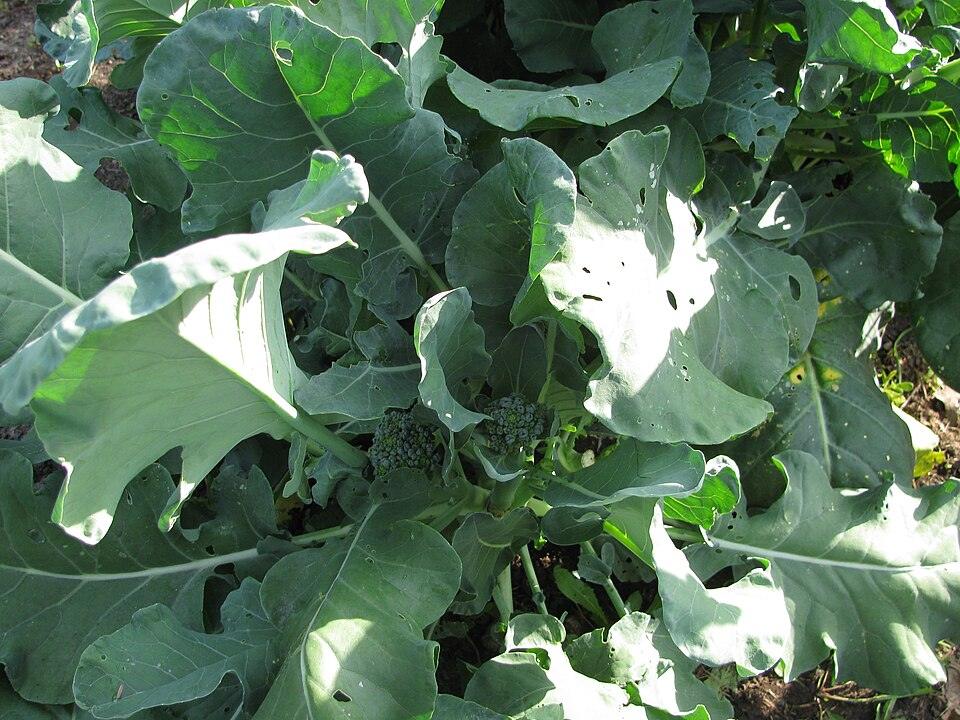 Growing
Established broccoli plant with a full rosette of large gray-green leaves and the first tiny button-sized head just forming at the center; a few weeks from harvest.
Generic garden broccoli; cultivar not stated.
Photo: Buddy431· CC BY-SA 3.0
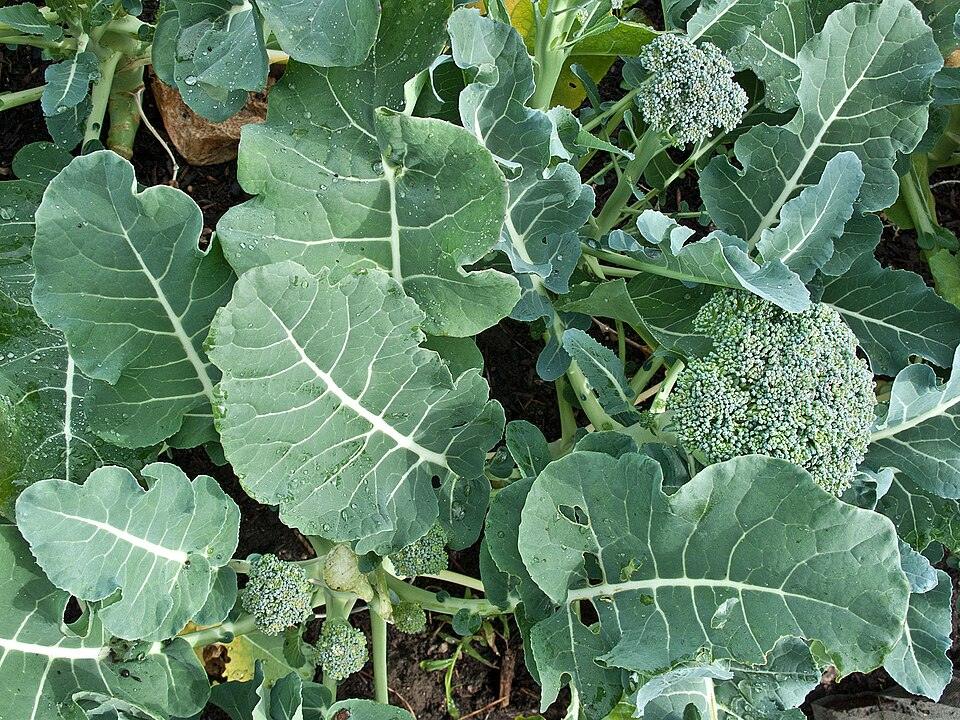 Full grown
De Cicco sprouting broccoli at harvest: a small blue-green central head plus several side-shoot florets among the leaves, which is exactly how this cut-and-come-again variety produces.
Photo: Downtowngal· CC BY-SA 3.0
Growing stages
What to look for, and what to do, at each point in its lifeBroccoli 'De Cicco', an Italian heirloom sprouting type grown for its small central heads and long run of side shoots, is planted as a fall crop in Decatur's Zone 8a, transplanted in September for a harvest that runs from late fall into winter.
- 1
Sowing
Late July to early August, 4-6 weeks before your September transplant dateYou'll see Seeds are round and pea-sized, dark brown to black, and show nothing above ground for 5-10 days.
Do Start seed in cell trays under lights or in a shaded spot, keeping soil surface damp until sprouting.
- 2
Seedling
Days 5-28 after sowingYou'll see A pair of rounded seed leaves appears first, followed within a week by ruffled, blue-green true leaves with the beginnings of De Cicco's characteristic wavy edge.
Do Keep seedlings in bright light to prevent legginess, and pot up if roots fill the cell before your transplant date.
- 3
Transplant
4-6 weeks after starting indoors, in September, when seedlings have 4-6 true leavesYou'll see Transplant-ready seedlings are stocky, 3-5 inches tall, with a compact root ball that holds together when lifted.
Do Harden off over 5-7 days, then set plants an inch deeper than they sat in the tray, spaced 18-24 inches apart in beds or grow bags.
- 4
Harvesting the central head, then side shoots
First small central head at 48-65 days after transplant, side shoots continuing for another 4-6 weeksYou'll see The central head is small, only 3-4 inches across, tight and green with no yellow petals showing; side shoots that follow are smaller, 2-3 inch spears.
Do Cut the central head with a few inches of stem while buds are still tight, then keep harvesting side shoots as they reach 2-3 inches.
- 5
Bolting to flower
Once temperatures push into the 80s°F, or naturally after weeks of continuous side-shoot harvestYou'll see Remaining heads and side shoots open into small yellow four-petaled flowers atop lengthening stems.
Do Harvest any tight heads before they open; once flowering starts, pull the plant or leave a shoot for pollinators and seed.
- 6
Seed saving
6-10 weeks after flowering, once pods dry from green to brownYou'll see Flower clusters turn from yellow blooms to slim, brown, brittle pods that rattle with seed when dry.
Do Cut whole seed stalks into a paper bag once pods are dry and brittle, then crush and winnow to separate seed from chaff.
Techniques — transplant, prune, propagate, divide, seed
Full sun to part shade; cool weather.
Consistent moisture.
Hydro pods / tight in-ground spacing.
Steady light feeding.
Care
- Cool-season crops — spring and fall windows; they bolt in summer heat.
- Wasabina mustard + tatsoi run permanently indoors in the 2nd hydro unit.
- Giant Red + Southern Green mustard run outdoors in the wooden structure.
Harvest
Cut-and-come-again; harvest outer leaves.
Watch for
Bolting in heat; aphids/flea beetles.