Stringless Green Beans
Stringless Green
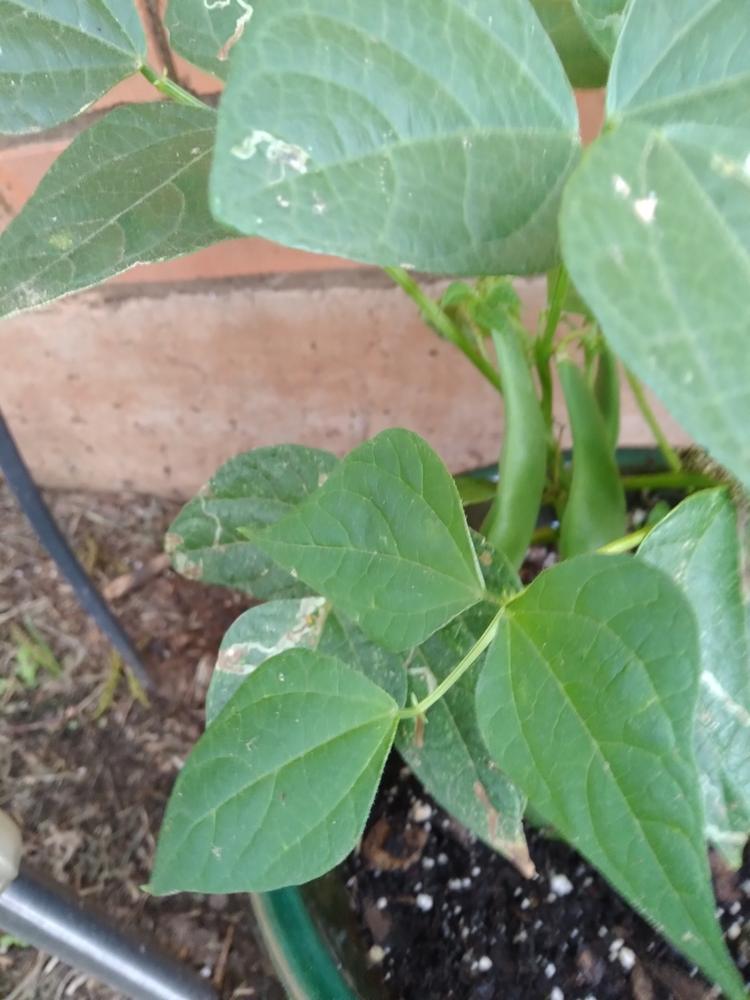 Young
YoungYoung Phaseolus vulgaris bush bean seedling with first true leaves, growing in a pot
Generic Phaseolus vulgaris bush bean seedling; not a specific stringless cultivar.
Photo: Jacoby Benham· CC BY-NC
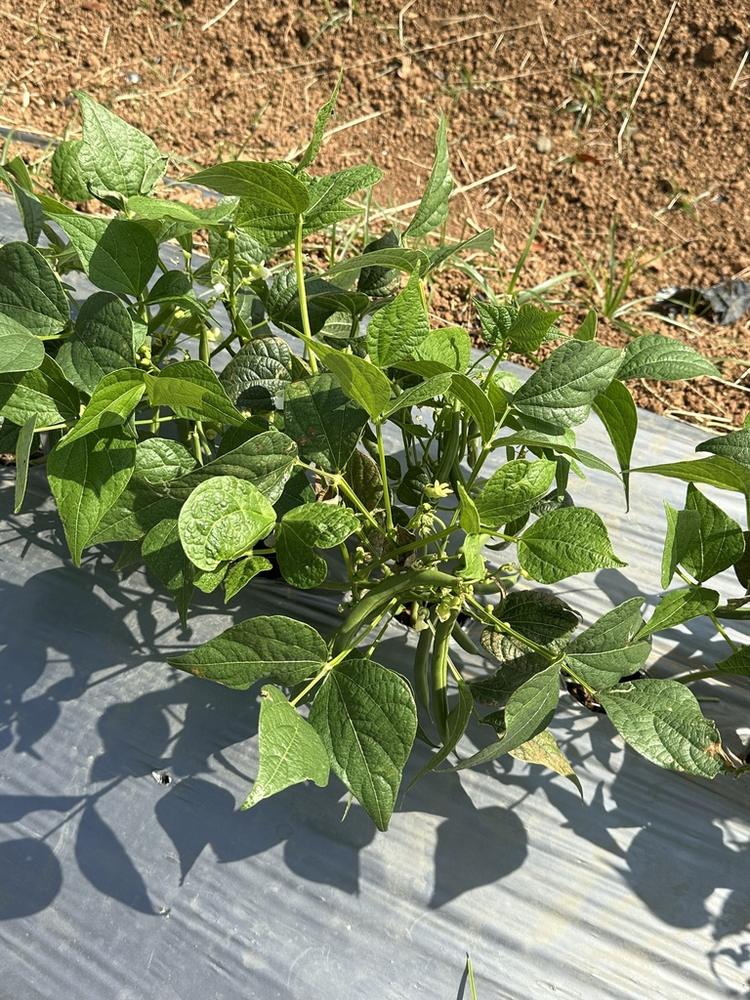 Growing
Established bush bean plant with dense foliage and young pods forming, pre-full-harvest
Generic Phaseolus vulgaris bush bean; cultivar not specified.
Photo: ana_villar· CC BY-NC
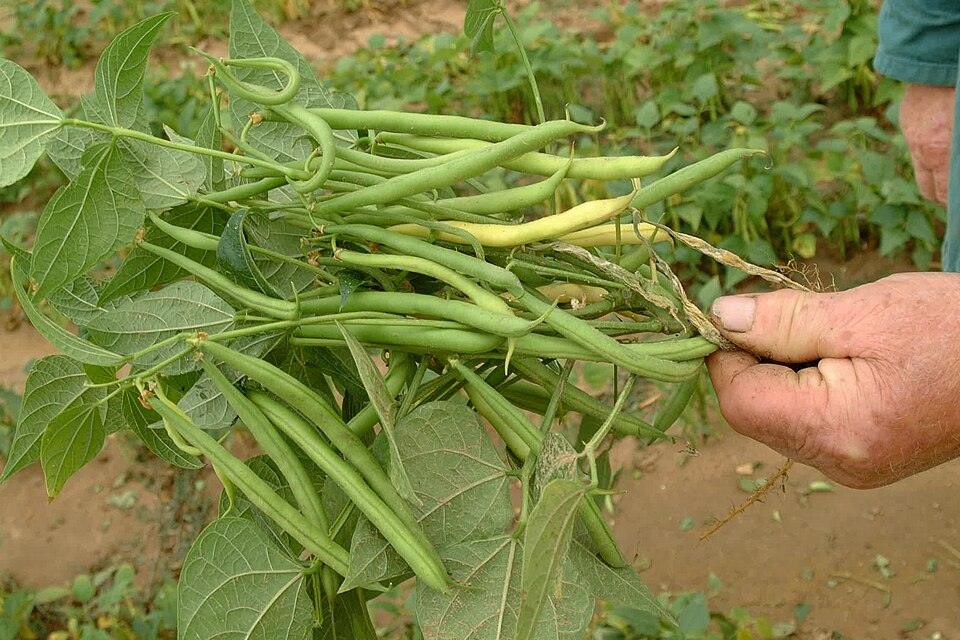 Full grown
Bush bean plant loaded with a heavy harvest of green pods, held up by hand
Generic bush bean (German 'Buschbohnen'); not a specific stringless variety, but visually representative of a heavily podded bush bean plant.
Photo: Schlaghecken Josef· CC BY-SA 4.0
Growing stages
What to look for, and what to do, at each point in its lifeStringless Green bush beans are direct-sown after the soil warms in spring, quickly build nitrogen-fixing nodules on their roots, flower and set slender stringless pods within weeks, and reward frequent picking with several weeks of steady harvest before the compact plants exhaust themselves and are pulled or left to dry a few pods for next year's seed.
- 1
Direct Sowing
Zone 8a: after last frost (~Mar 28), roughly mid-April through July for successive plantings, once soil has warmed to at least 60F.You'll see A prepared bed or row with bean seeds pressed about 1 inch deep, spaced 3-4 inches apart in rows 18-24 inches apart.
Do Sow seed directly where it will grow. Bush beans dislike root disturbance and are not usually transplanted, so plan for direct sowing in beds or grow bags at least 8-10 inches deep.
- 2
Germination and Seedling
Days 6-14 after sowing.You'll see Thick, rounded seed leaves (cotyledons) push up first, sometimes still wearing the split seed coat, followed by the first true trifoliate leaves within about a week.
Do Keep soil consistently moist until seedlings are up and growing, and watch for slugs, cutworms, or birds pulling up young sprouts.
- 3
Root Establishment and Nodule Development
Weeks 2-5 after sowing, alongside vegetative growth.You'll see A compact, bushy plant a few inches tall with several sets of true leaves and a fibrous, shallow root system; not visible above ground, but small round nodules form along the roots where they partner with soil bacteria.
Do Leave the plant undisturbed in place and avoid deep cultivation near the base, which can tear the shallow, sensitive root system. Avoid heavy nitrogen fertilizer, which discourages nodule formation. If this bed has never grown beans, peas, or other legumes before, treat seed with a rhizobia inoculant at planting time.
- 4
Flowering
Roughly 4-6 weeks after sowing.You'll see Small white or pale lavender flowers appear in clusters at leaf joints, self-contained and mostly closed.
Do No pollination assistance needed. Keep watering consistent through flowering, since drought stress now can cause blossom drop.
- 5
Pod Set and Harvest
Roughly 50-55 days after sowing, continuing for several weeks with frequent picking.You'll see Slender, rounded, stringless green pods forming behind spent flowers, reaching full harvest length within a week or two.
Do Pick pods regularly, every 1-2 days once they size up, snapping cleanly at the stem. Do not let mature pods sit on the plant.
- 6
Seed Saving
Late in the harvest window or after, choosing a few pods to leave on the plant until they dry.You'll see Selected pods left on the plant swell, then the pod wall dries, fades from green to tan or straw-colored, and becomes thin, brittle, and rattly with loose seed inside.
Do Let chosen pods dry fully on the plant. Once brown and rattly, pick and shell them, then dry seed further indoors before storing.
- 7
Decline and Removal
After 3-4 weeks of harvest, or at first hard frost, whichever comes first.You'll see Leaves yellow, flowering slows and stops, and remaining pods toughen; a frost blackens foliage within a day.
Do Pull spent plants once production drops off or after frost kills them, and consider a fresh direct-sown succession planting if season allows.
Techniques — transplant, prune, propagate, divide, seed
Full sun
Even moisture, especially at flowering/pod-set.
Direct sow 1–2" deep in rows/zones.
Beans fix their own nitrogen once established — do not over-fertilize.
Care
- Direct-sow only — taproot-sensitive, do not transplant from hydro.
- Succession sow every 2–3 weeks for a continuous harvest.
- Never remove flowers.
Harvest
Pick young and often to keep plants producing.
Watch for
Rot if sown in cold/wet soil — wait for warmth.