Pepper (Orange Bell)
Orange Bell
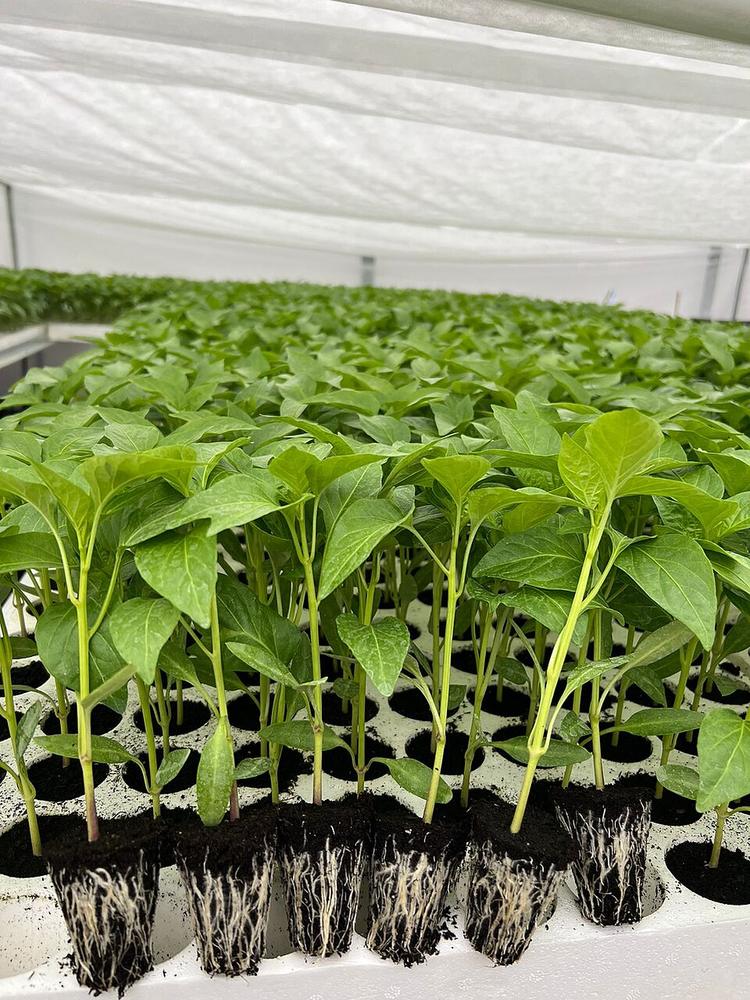 Young
YoungA tray of pepper seedlings with true leaves, roots visible in soil blocks.
Generic pepper seedling (Capsicum annuum); cultivar not identified. Seedlings look the same across bell pepper colors at this stage.
Photo: AgroFidanishtjaHavolli· CC BY-SA 4.0
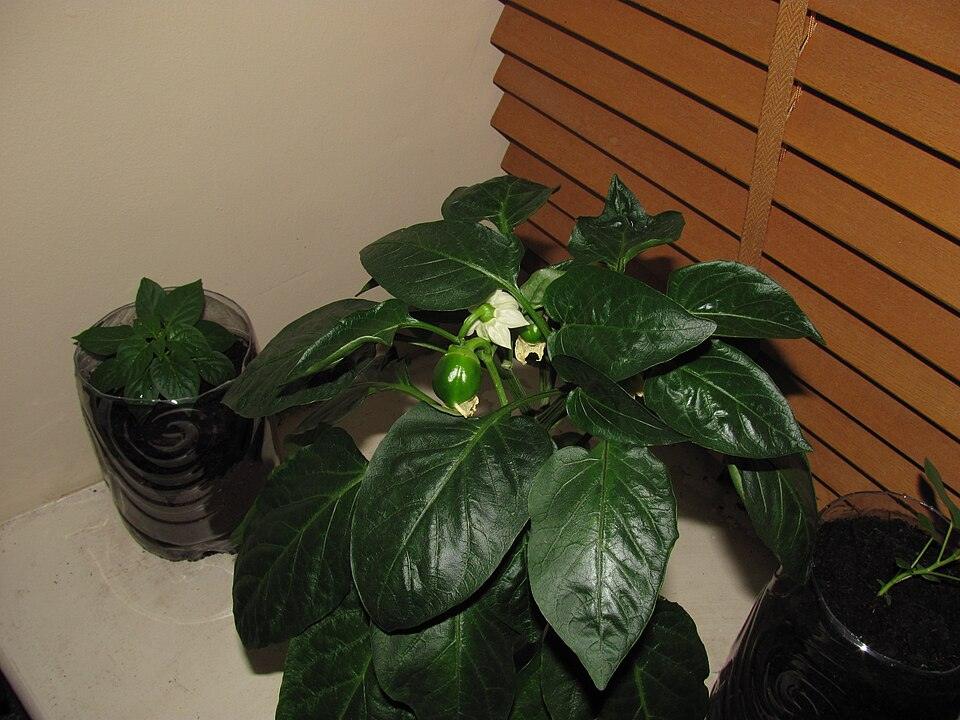 Growing
A potted bell pepper plant with a white flower and small green immature fruit forming.
Generic bell pepper (Capsicum annuum); fruit is still green/immature at this stage regardless of eventual ripe color, so representative of the orange bell before ripening.
Photo: RTG· CC BY-SA 3.0
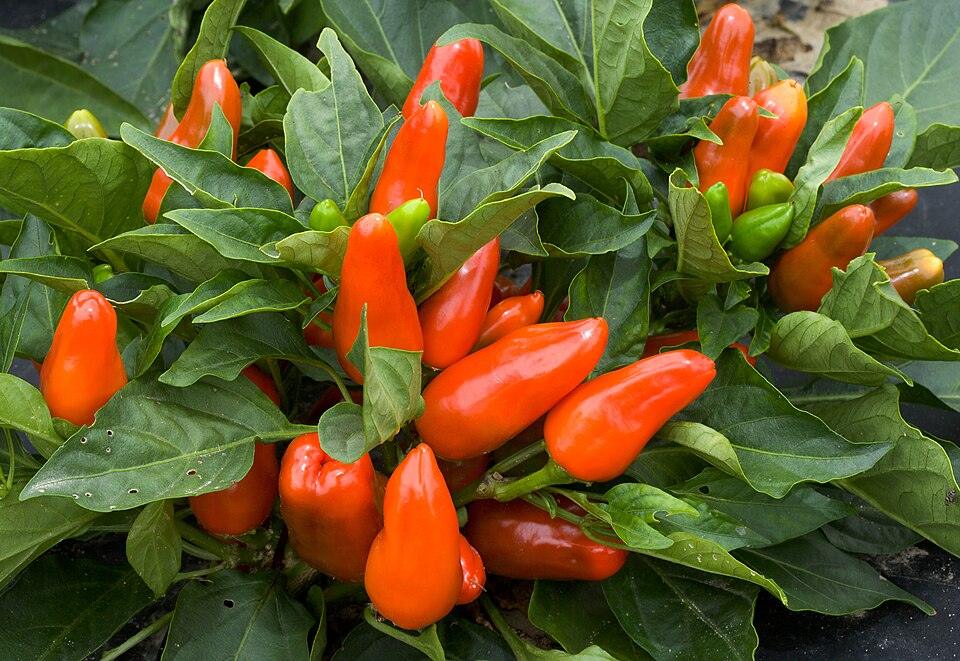 Full grown
"Tangerine Dream" peppers -- a USDA-developed sweet pepper (bell x squash-pepper cross) -- ripening orange on the plant.
This is 'Tangerine Dream', a USDA ARS ornamental/sweet pepper bred from a sweet bell parent; fruit is more tapered than a classic blocky bell. No photo of a classic blocky orange bell pepper ripening on the plant was found on Commons, so this is the closest orange, on-plant, sweet-pepper match.
Photo: USDAgov· Public domain
Growing stages
What to look for, and what to do, at each point in its lifeThe Orange Bell pepper is a classic blocky sweet bell in Decatur's Zone 8a that goes in after the last frost in late March/early April, grows slowly through cool spring, then ripens from green to a bright orange as it matures, setting fruit steadily from June into October.
- 1
Seedling
Weeks 1-8 after sowing, started indoors 8-10 weeks before last frost (mid-to-late January for a late-March/early-April transplant)You'll see Two smooth oval cotyledons first, then pointed, slightly glossy true leaves; growth is noticeably slower than tomatoes, and a healthy seedling is compact and deep green rather than tall and pale.
Do Keep soil consistently warm (75-85F, a heat mat helps a lot) and give strong light as soon as leaves appear so the stem stays sturdy instead of stretching.
- 2
Transplant
Late March through mid-April, after nighttime lows are reliably above 55FYou'll see A hardened-off transplant should have 4-6 true leaves, a thick stem, and no flower buds yet. Wilting or purpling of leaves after planting signals the soil or air is still too cold.
Do Harden off over 5-7 days, then transplant into warmed bed or grow bag soil slightly deeper than it sat in its pot, and stake or cage it early since a loaded bell plant can get top-heavy.
- 3
Establishing / early branching
First 2-3 weeks after transplantYou'll see New leaf growth resumes, the plant starts putting out side branches, and the first flower buds appear at the growing tip or first fork.
Do Top or pinch the plant once, remove the very first flower bud(s), and keep watering even and consistent while roots establish.
- 4
Flowering and fruit set
Late May through September, peaking in the heat of summerYou'll see Small white, star-shaped flowers (5-6 petals) open along the branches; pollinated flowers swell into tiny green bells within days.
Do Keep water consistent (drought stress can cause blossom drop) and avoid heavy nitrogen fertilizer once flowering starts, since it pushes leaves over fruit.
- 5
Ripening and harvest
65-75 days from transplant to first full-size green fruit, then another 2-4 weeks on the plant to fully color orangeYou'll see Fruit starts firm, blocky, and green, then gradually shifts to a bright orange starting at the blossom end as it fully ripens.
Do Harvest some green for a milder flavor and to keep the plant producing, but let others ride longer to fully color orange for maximum sweetness.
- 6
Seed saving
From fully colored, overripe orange fruit at the end of the seasonYou'll see Seeds are cream to tan colored, flat, and firm inside a fully orange fruit; seeds from underripe green fruit are pale and won't germinate reliably.
Do Isolate from other pepper varieties before flowering if you want true seed, then scoop seed from a fully ripe fruit, dry it fully, and label by variety and date.
- 7
Overwintering indoors (optional)
Before first frost (~Nov 12) through late winterYou'll see A healthy candidate for overwintering is a productive plant without disease or pest issues; after cutting back it will look bare with just a few short stems.
Do Dig up (or move the grow bag), cut the plant back by about a third to a half, pot it if needed, and move it to a sunny window or under grow lights for winter.
Techniques — transplant, prune, propagate, divide, seed
Full sun, warmth-loving
Even, moderate moisture.
18–24" apart
Heavy feeder; back off nitrogen at flowering.
Care
- Pinch early flowers until a strong branched 'Y' forms for a sturdier, more productive plant.
- Basil interplanted at bag edges deters aphids/whiteflies.
Harvest
Pick when fully colored for maximum sweetness.
Watch for
Aphid pressure peaks May–June and Sept–Oct in Atlanta.