Tomato (Roma)
Roma (paste)
Canonical 2026 paste tomato (supersedes San Marzano/Amish Paste). Ideal for sauce, jam, and oven-drying for vodka infusions.
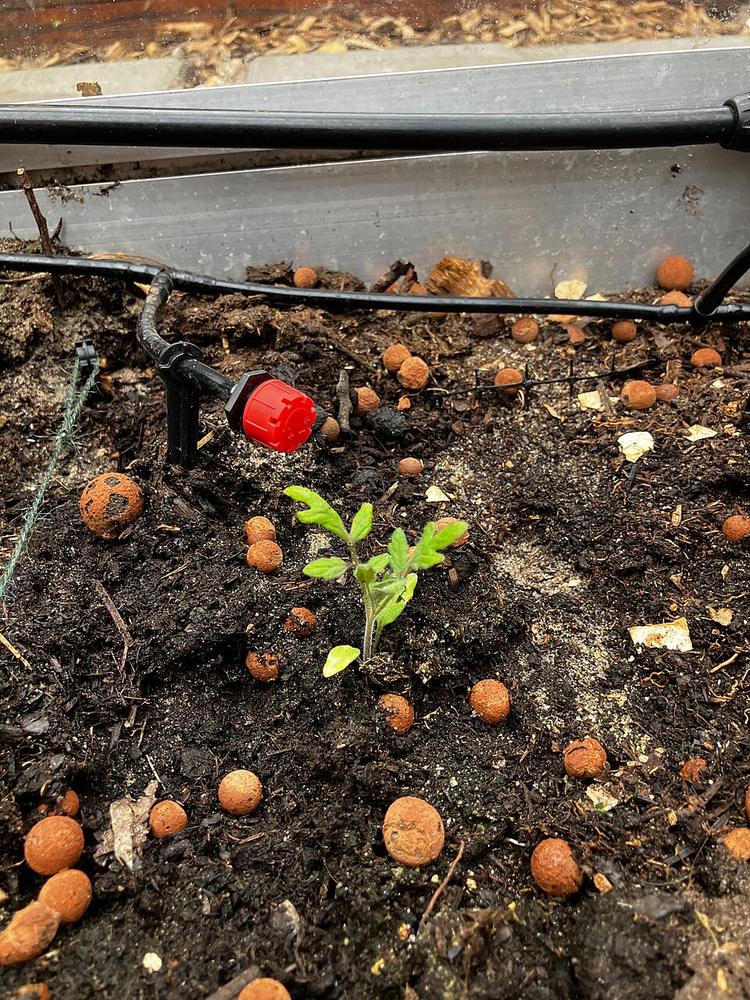 Young
YoungFreshly transplanted tomato seedling with first true leaves in garden soil
Generic tomato seedling
Photo: Mbehrisch· CC BY-SA 4.0
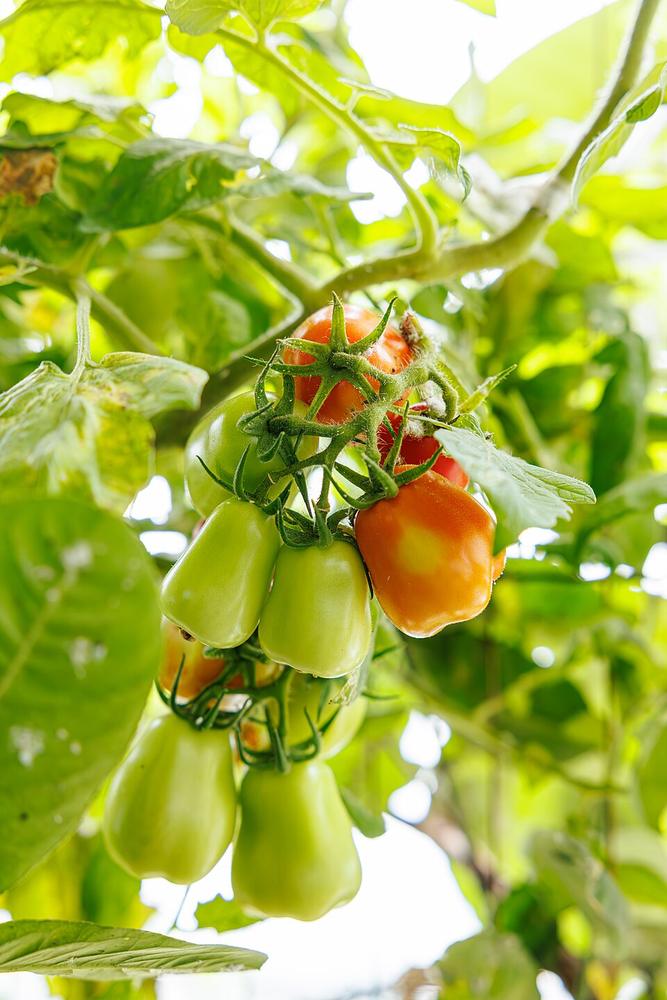 Growing
A truss of elongated plum/paste-type tomatoes on the plant, ripening from green to red
Photo is labeled 'Romana', a similar Italian plum-tomato variety, not the Roma VF cultivar specifically; shape and growth habit are a close match
Photo: Dinkun Chen· CC BY-SA 4.0
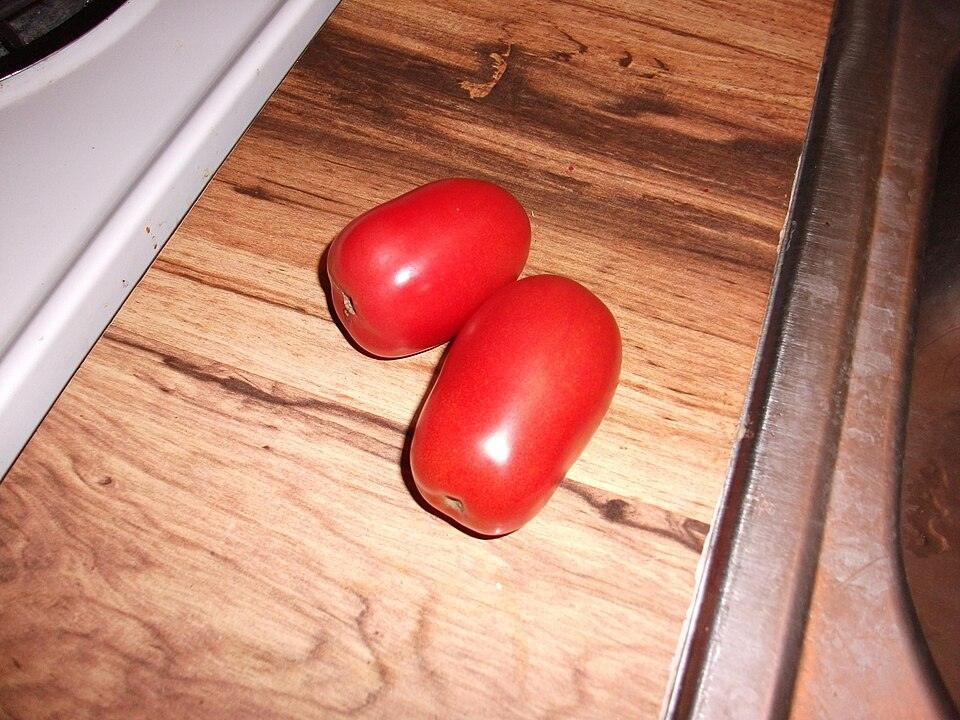 Full grown
Two ripe red Roma paste tomatoes, oblong shape, freshly harvested
Photo: John Harvey· Public domain
Growing stages
What to look for, and what to do, at each point in its lifeRoma is an open-pollinated determinate paste tomato that goes in after the Mar 28 last frost, grows to a fixed compact 3-4 foot size without pruning, then delivers one heavy concentrated flush of oblong, meaty fruit over a few weeks in mid-summer before the plant winds down well ahead of the Nov 12 frost.
- 1
Sowing Seed Indoors
Late Jan to mid-Feb, about 6-8 weeks before the Mar 28 last frostYou'll see Seeds are flat tan-yellow ovals. Within 5-10 days at 70-80F a pale hooked stem emerges, followed by two smooth oval seed leaves, not yet the true serrated tomato leaf.
Do Sow 1/4 inch deep in sterile seed-starting mix under grow lights kept close to the tray, with gentle bottom heat if the room is cool.
- 2
Seedling and Hardening Off
Weeks 2-8 after sowing, roughly mid-Feb through late MarYou'll see By 4-6 weeks the plant has several sets of true leaves and a compact, bushy habit; Roma seedlings tend to stay shorter and denser than indeterminate seedlings at the same age.
Do Pot up to a larger container as roots fill the cell, then harden off outdoors gradually over 7-10 days before transplant.
- 3
Transplanting Into the Bed
After Mar 28 last frost, once soil has warmedYou'll see A ready transplant is 8-10 inches tall with a thick stem and 4-6 true leaves; lower leaves may look a bit tired if the plant sat in its pot a while, which is fine since they get buried.
Do Strip the lower leaves and bury the stem deeply, either straight down or on a slight angle, so most of the buried portion can grow new roots.
- 4
Establishing
Weeks 1-3 after transplant, roughly early to mid-AprYou'll see New top growth resumes within about a week of transplant; leaves stay deep green and firm in the morning. Afternoon wilting that recovers by evening is normal in the first week.
Do Water deeply 2-3 times a week rather than lightly every day, and mulch to even out soil moisture.
- 5
Vegetative Growth Without Pruning
Weeks 3-7 after transplant, roughly mid-Apr through late MayYou'll see The plant branches out on its own into a compact, bushy shape with multiple stems, each of which will eventually carry flowers and fruit. Growth naturally slows and levels off once the plant reaches its predetermined size, typically 3-4 feet.
Do Leave suckers alone and let the plant branch freely; simply tie or clip stems to the cage as they grow for support.
- 6
Flowering
Weeks 6-9 after transplant, roughly late May into JuneYou'll see Small yellow flowers cluster along the main stem and its many branches, appearing in a compressed window rather than trickling out over months.
Do Let bees and wind handle pollination in the open garden; hand pollination is rarely needed outdoors but can help in a screened bed or hydroponic setup.
- 7
Fruit Set and the Concentrated Harvest Flush
Roughly 75 days from transplant to first ripe fruit, then a short concentrated flush, weeks 8-14 after transplant into JulyYou'll see Oblong, blocky paste fruit forms in clusters and swells over a few weeks, then ripens in a heavy, concentrated flush rather than trickling in a few tomatoes at a time. Watch the blossom end (bottom tip) of developing fruit for a flat, water-soaked, darkening spot, the sign of blossom-end rot.
Do Water consistently and evenly through fruit development, and harvest the whole flush over its short window since Roma does not keep setting much new fruit afterward.
- 8
Seed Saving
During the main harvest flush, from a fully ripe, healthy fruitYou'll see A fully ripe, true-to-type Roma fruit with no cracking or rot is the best candidate for saving seed.
Do Ferment the seeds in water for a few days to strip the gel coat, then rinse and dry thoroughly before storing.
Techniques — transplant, prune, propagate, divide, seed
Full sun (6–8+ hrs)
1–2" per week, deep and consistent.
24" apart
Same as slicers, but determinate plants set most fruit at once.
Care
- DO NOT prune determinate Roma — every flower is a potential fruit.
- Calcium + consistent water are critical: a determinate dump magnifies any blossom-end rot.
- Yield push: from ~25 lb/plant baseline toward 40–50 lb/plant with calcium, deep water, mulch, feeding.
Harvest
Determinate — produces 150–300 lbs in July all at once. Freeze whole or chopped (no blanching) to pace jam/sauce production through fall/winter;
Watch for
Blossom-end rot if calcium/water are inconsistent during the heavy set.